Painting with Paulson
Brenna and Her Shadow Part I
3/1/2025 | 26m 47sVideo has Closed Captions
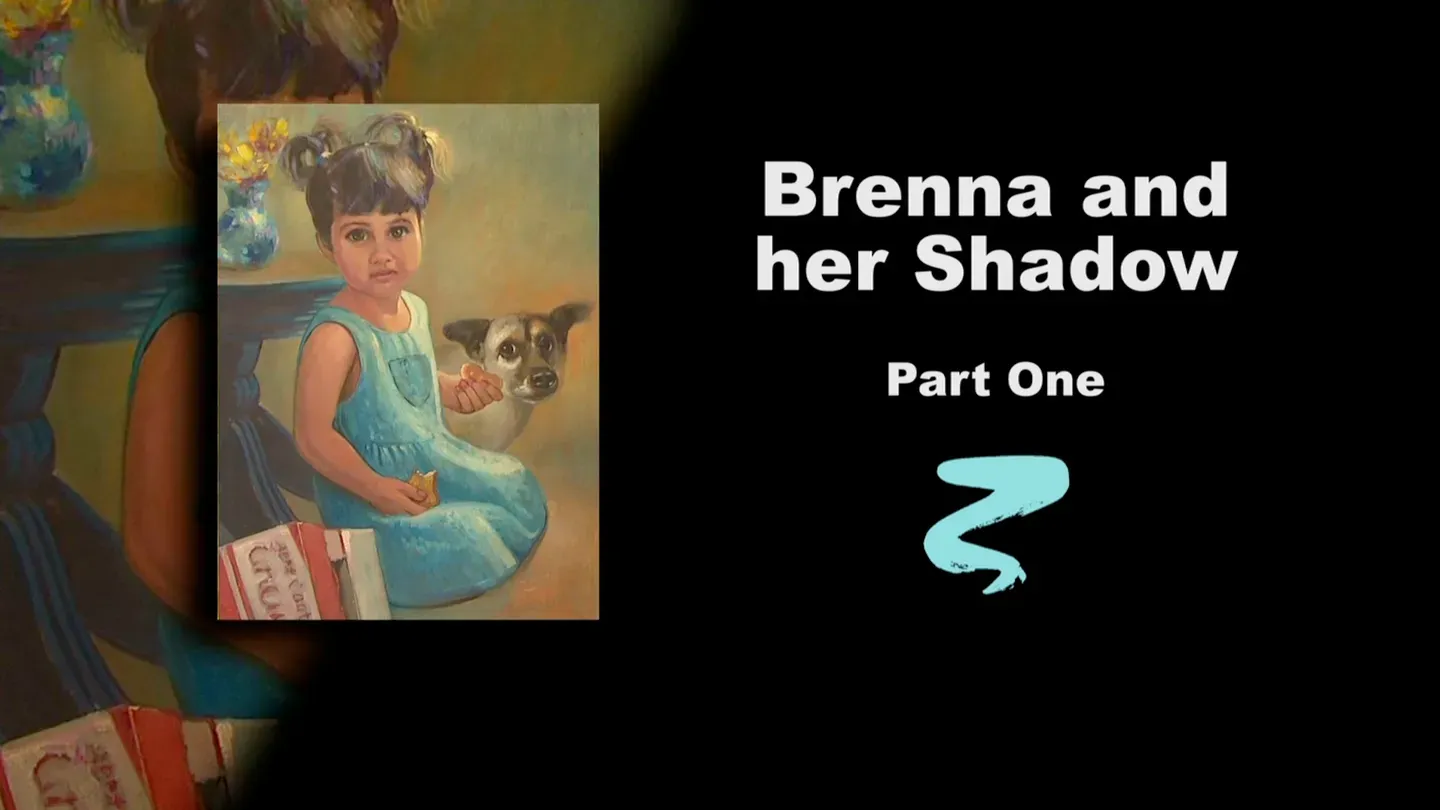
Buck paints stage one of Brenna and Her Shadow.
In the first stage of a three stage painting, Buck paints a fun scene of a little girl and her dog.
Problems with Closed Captions? Closed Captioning Feedback
Problems with Closed Captions? Closed Captioning Feedback
Painting with Paulson is a local public television program presented by Prairie Public
Painting with Paulson
Brenna and Her Shadow Part I
3/1/2025 | 26m 47sVideo has Closed Captions
In the first stage of a three stage painting, Buck paints a fun scene of a little girl and her dog.
Problems with Closed Captions? Closed Captioning Feedback
How to Watch Painting with Paulson
Painting with Paulson is available to stream on pbs.org and the free PBS App, available on iPhone, Apple TV, Android TV, Android smartphones, Amazon Fire TV, Amazon Fire Tablet, Roku, Samsung Smart TV, and Vizio.
Providing Support for PBS.org
Learn Moreabout PBS online sponsorshipYou can never become a great artist by sitting down and wishing it were so.
[piano plays in bright rhythm & tone] ♪ ♪ ♪ ♪ We have a special project ahead, a 3-part painting, "Brenna and her Shadow."
That's the name of the dog, Shadow.
I will do stage 1 today, acrylics, but let me show you the finished painting.
Here it is: "Brenna and her Shadow."
That's complete.
Now, let me show you the photograph that I used in painting Brenna.
So we'll take these away and I'll show you the canvas we have, which is primed with 1 black, 1 Permanent Green Light, and 6 white.
It's a nice grayish slatey color, and it works so well.
And it works especially well with acrylics, not just acrylics, but with portraits or landscapes or seascapes or everything.
We'll do acrylics and I will begin with the fan brush.
We're going to do a lot of Alizarin Crimson.
I want to try something, and I've soaked, I've dunked a paper towel in water.
And I'm going to put this over the canvas.
See, I put a drawing on, and that's dry acrylic, that I have put on the outlive, so I won't lose it.
But if I put a little water on, just oftentimes we put oil on before we put the oil paints on.
So this'll make it, the paint will flow a little more freely.
The studio lights will dry it a little bit, but let's just try it.
Ok, acrylics.
I'll start with the fan brush, we have Alizarin Crimson coming up on her hair.
You can be a little casual with this, because the edges will have that certain looseness to it anyway.
As I come down, you can see if I come down the forehead just a little bit, I can still see where the hairline is with the drawing.
Come down on the ear.
Come down across the face.
I'll leave little places where I want kind of secondary value.
The green will stay that way right now.
Then we will put some highlights on with some flesh, orangey, white color.
Getting just a little bit off there.
Come back up to here.
And because it's a little bit wet, it makes it quite easily to correct, easy to correct.
If I need to do so.
So for instance: through the nose, let's say that shouldn't be that dark there.
So I'll just wipe, and there we are.
Great!
It's fun to discover things, isn't it?
Then let's come down on the arm.
We're kind of going with large things first, and we will return to the face and do work with a little bit of acrylic in the eyes, also with the flesh color on the face.
This, when I put that on, see that looks right, but why not just a little refinement?
Each stage, you want to do it just as if: ok, I've done that stage.
Bang!
A lightning hits you, and somebody will come and say, "Oh, it's good he finished the painting before he died!"
That's the kind of quality I want, that at any stage you could say that's good.
Not finished, but good to the point they went.
Ok, let's go over to-- oh, I now what.
Let's put a little bit on this box, little dog biscuit box.
And I'll guarantee you: that little doggy, oof, when you look into his eyes, how can you say no?
And you get the feeling that Brenna is not going to say no.
She's going to feed the doggy.
Ok, I'll take a smaller brush.
And I have a round brush, and I have a badger sable, and I'll put a little paint on both of them.
So I don't have to dip down quite so often.
Let's go up to the face.
I'll put nostrils, just a little dark there.
A little on this side.
And make sure, see the eyes slant a little bit, the head's tilted a little bit, also the nostrils.
Those are things you need to watch to be accurate with.
A little bit on the upper lip.
A little bit under the bottom lip.
And I need to just wipe there, because it looks like her bottom lip has been just a little tough.
Ok, let's go up to an eye.
I have that same round brush, I'm filling it up a little bit.
So when I put the eye in I have a line over the top.
Oh, this is so nice.
You can see exactly what I'm doing, can't you?
And then a little stronger on the pupil, and then the iris.
I wipe the brush a little bit so it's not quite as dark, but it has some dark on it.
Brenna has beautiful dark eyes.
On this line that I put over the eye, we'll just soften down a little bit, so it's not quite so sharp.
It's just like a grape, it has roundness to it.
You need to represent that well.
I ran down, picked up some of the same paint, same brush, up on this eye.
Repeating it, so there's the line over the top.
I'll pick some more paint up.
You stay where ever you want.
Meet me going down, not coming up.
There's the pupil again.
Again, put on for the iris just a little bit.
Remember the shading, just slightly down on the eyeball is a little shading there, so the eye truly sets down in the socket.
A little stronger dark there.
Let's see where else we might want a little paint.
I see a little bit just right under the arm here.
Now, let's put a little bit on her hand and arm.
A little bit on the fingers.
See, we're not really doing much other than just pushing on a little glaze.
This is a little dog biscuit right there.
Do we need any more?
Nope, that's enough.
That's enough.
Ok, let's go over to the doggy.
I have the badger sable.
This is for the ear.
What a strong, beautiful ear that is.
He's a combination: Chihuahua, Pug, and Terrier.
He's my favorite dog.
He's our dog, not Brenna's dog, our dog.
Until Brenna comes, then he's her dog!
Just flatly filling in with the Alizarin Crimson.
A little bit, there's kind of a design on the head.
Let's go down along side.
I'm picking up more of the same paint, coming around here.
I've got a nice mark there.
You'll find this drawing will give you so much security.
I often times have people ask, they'll say oh gosh, that looks so difficult, I could never do that!
But they find sometimes it's easier to do portraits than a landscape or seascape, because you have to be so accurate with these, and the drawing gives you that accuracy-- or it's wrong!
Where as in a seascape, somebody in the class may be painting a higher wave or a different type wave.
Yet you're say, "that's good, that's good, that's good."
And they're all different, but on this, it'd be pretty hard to put 3 eyes in and call it right.
Ok, picking up with a round brush.
On his eye, there's not a lot to say about it other than it's very dark both in the pupil and the shading part of that-- we leave a little opening there.
A little bit underneath, and then on this side he's pretty filled in again.
We'll make sure we get little glints when the time comes.
And a little bit under the eye here.
Ok, that's about enough on him.
So I want to now take a little scrub, I'll use the fan brush again, and we'll come up near the flowers.
And this just gives us a little feeling, oh, did you bring any paint with you?
I don't think so.
Use a little paint.
Come up, and just a little shading around there.
Eventually that will have a lot of work on it.
So what I want to do now is to mix up some color.
I'm going to leave the brushes sitting in there, because I don't want them to dry out.
Let's mix up some color that we'll put on the top of the-- I don't know what that is.
It's a desk, but there has to be friendly name for it.
This is Turquoise Blue, and what should we put with that?
Let's take some of the Quinacridone Rose over.
Let's try equal parts and see what we have.
Oo, I think that's good!
Oh gosh, what a great marriage that is.
You guys, on the palette, you can be a little closer, because you look good together.
Ok, we'll come now, maybe a fan brush for some of this, which are a little larger areas.
It's nice you have the line there, so you're going right to that.
When I come close to the body, the little girl, we want to make sure that we're not losing her.
In fact, I'm going to take a small, the badger flat with a little water, and I ran quickly.
Then I can draw, I can see the line.
And we'll continue down.
We have this support.
I often will leave just a little line, the red acrylic line, just so I make sure I know where the edge is.
In a studio or when you do it yourself, you can be very careful in your drawing.
We have to rush just a little bit here.
Picking up more paint, coming down to the next one.
Ok, and the next, the leg there.
We have a little detail, I'll show you in a minute.
We'll put this down against that, so that's a distant leg.
Ok, now the detail is to my left on the picture.
So we have a little light and there's just a little space in-between.
This will show the spaces.
Picking up more paint.
Leave again, then put in another little space.
That's an expensive piece of furniture!
Its edge is right there.
Brenna is a fine little artist too.
She really does so well, both in drawing and she'll take some clay and just sculpt out a horse, just at a moments notice.
She's so funny, there's one time her parents asked her, they said, "Brenna, you want to go to the movie?"
And she says, "are there unicorns in it?"
"No."
"Then I don't want to go."
She loved unicorns.
Ok, on her dress let's use the Turquoise Blue again, but we'll use it straight.
Let me see what that'll do with just Turquoise Blue and white.
That will give us the front of her dress, the nonshaded part.
And I have a large brush, as you can see.
Probably would be a good idea to have a small brush too.
I picked up a flat one this time.
And carefully drawing in near to the edges.
Down here have some.
It's a little pocket or design there, we save that.
Come a little bit on the side, in-between it and the edge.
[soft scraping] Don't you love that sound?
It sounds like things are happening.
Ok, coming down lower.
Let's see, which brush do we want?
Fan brush.
And you know you have different grades of canvas.
It always has a little bearing on what's happening too.
This is just a little courser, and I like it's response when you put the paint on, but you have to push just a little harder.
We need--I don't know what they call those things where it tells where you're driving to.
It says, "take a turn down there."
We just took a turn down there.
"Ok, take a turn down here."
Alright, now, let's see what we can do for the darker color.
Let's try-- that's pretty good.
I think I'll, this is the mixture that we used on the desk, but I'll add a little more blue on that.
So that would end up being 2 Turquoise Blue, and 1 Paynes Gray and white.
This is our shadow color on the dress.
It's so much fun to see young people with animals, and especially if they love animals.
They just do anything for them.
Coming down.
The more we cover this, the more you can see the form in the hand and the arms.
You always keep, not so much this time, but later, the next stage, you keep an eye on the face.
What does each thing here, how does it go up there?
The relationship?
What effect does it have?
So you don't just blindly say, I'm just going to paint this blue and I'm going to do this.
You watch the effect it's having on the rest of the place.
And that's so true, even in a neighborhood.
Whatever you do at your home, how does it affect the neighbors?
It's certainly something to consider.
Courtesy!
Ok, just a little more here.
I'll come down in here with this small brush.
Just to make it so I can come closer against that with ease.
Alright, the large brush.
What we're going to do next: we'll start putting some lights on the face and the arms of Brenna, and then we'll have just time to put a little bit of lights over on the face of Shadow.
Ok, I think that's, oo, we better not stop quite yet.
Let's take some of this shadow going past this, right up into here.
Just little brush marks.
Just very casually done.
But even though you're doing it casually, you're very conscious that the light is coming from the right.
From the right.
So I'll put just a little bit of the lighter light on.
What do we have?
This is the blue and white which was on her dress.
Maybe a touch lighter.
A little reflected light down there.
Then I can put just a little stronger, almost white.
When I say, "almost white," it was white, but when I mix it in up on the canvas it won't look quite as white.
Alright, now we come down to the palette, and we're going to mix up some flesh color.
First we'll go on Brenna.
Orange and Yellow Ochre and white.
For you that have been watching the series all these weeks you say, geeh, some of those colors are what you used in the sky and the sun.
That's marvelous truth, isn't it?
Ok, I want to hold this up and check it against there.
I think that looks pretty good.
And when I say that, it's almost like my floor director, "that's pretty good, but let's do it again."
So my pretty good is, I'm going to put just a touch of the pink in it.
Has the screen turned black?
No, that didn't offend her, so we're still going on.
Ok, here's orange and white and Yellow Ochre and a touch of Quinacridone Rose.
First place: right up there.
I won't put too many of these on before I blend them, because, again, we're dealing with acrylics and they dry sort of fast.
You realize of course, those of you who paint with acrylics, that you can put in a retarder and it'll dry more slowly.
The light is coming from the right.
That's why, on that side, right under the nostril between that and the lip, it's lighter there, so you get the feeling of form.
The analogy or the example my teacher used was: you think, look at me.
You think of your face like there's one value, there's another value, there's another value.
It's a different change in direction, so when you come up here, you're aware of that.
Ok, I better blend that before, oh no, I'll put a little more on this side of the face, and then we'll put some out, a little bit on the ear.
Ok, now I need to blend these.
I don't have to blend them much, because when we put flesh color over them we'll spread them around a little bit.
So this is just a little kind of blending right in place.
This one probably needs it the most.
I can hardly wait for you to come back and you'll be with me when we do those eyes.
Those eyes, those eyes.
Oh, this is great!
It's so nice to have time to do at 3-parter.
It gives you a quality painting.
And you know, you have every advantage now, because if you wanted to do this painting-- I'm putting orange down here, you can do it because you've got the line drawing, you've got the directions, you got the finished one to look at.
You just can't fail.
And you could sneak in and put your little child in there or your dog.
That's what's nice about adapting a painting to that.
Let's go larger.
This is-- you're a mop brush.
See, I got a large surface there, and I just really can do this nice and quickly, and do it well.
We don't have a lot of time, but we've got some time.
Let's come over to the doggy, just with a couple of minutes.
We'll take Yellow Ochre and white, there's the white.
Here's the Yellow Ochre.
And we just put a few lights on strategic places on his body.
First one... we'll put right there.
Next one, right under the eye.
Right in there.
One above the eye there.
One down by the nostril there.
A little bit under her hand.
I like that one in particular, because it separates her hand from the body.
I'll blend those just a little bit, then it may be time to say good-bye.
We'll see.
Ok, blend those a little bit.
Love ya, Shadow.
Love ya!
Ok, blend this one.
We'll blend a little here.
A little bit there.
Oh, I see where, I'll just reach down, we don't have much time, but we'll do it.
We'll put a little flesh color.
This is going back to the flesh color.
Put just a little bit down near her wrist and a little bit on this side.
That's the forearm, over there, almost the wrist.
So I think we have what we need for stage 1 on Brenna.
And you can see then, how the acrylic stage looks.
And the next 2 stages will both be in oils.
We'll go further, and we'll go further.
[soft scraping] And send your cards and letters.
I absolutely enjoy them.
They come from you special people.
Sometimes you find out where I'm teaching a workshop, and you come and you bring or you send a photo of what you're doing, what you've done with what I've done or something you're doing entirely different.
And it's great!
Often, if I don't offend anybody, I'll sometimes make a comment: you might do this, or you might add a little extra there, on the pictures that you send.
And you sometimes might even say, Buck, I wish you would have done this or this."
I'm going to take just a final little touch on the way out, on the highlight on the shoulder.
That shoulder is so important, so I'm using some of Shadow's lights: the Yellow Ochre and white.
Just to make that a little longer, or more powerful.
We'll see you next time.
Thank you!
Thank you, for letting me come in here!
Thank you Prairie Public.
I appreciate it, and thank you for PBS across the world.
♪ ♪ ♪ ♪ ♪ ♪ ♪ ♪ ♪ ♪ ♪ ♪ ♪ ♪ ♪ ♪ (woman) Funding for "Painting With Paulson" is made possible by...


Support for PBS provided by:
Painting with Paulson is a local public television program presented by Prairie Public