Painting with Paulson
Brenna and Her Shadow Part III
3/1/2025 | 26m 46sVideo has Closed Captions
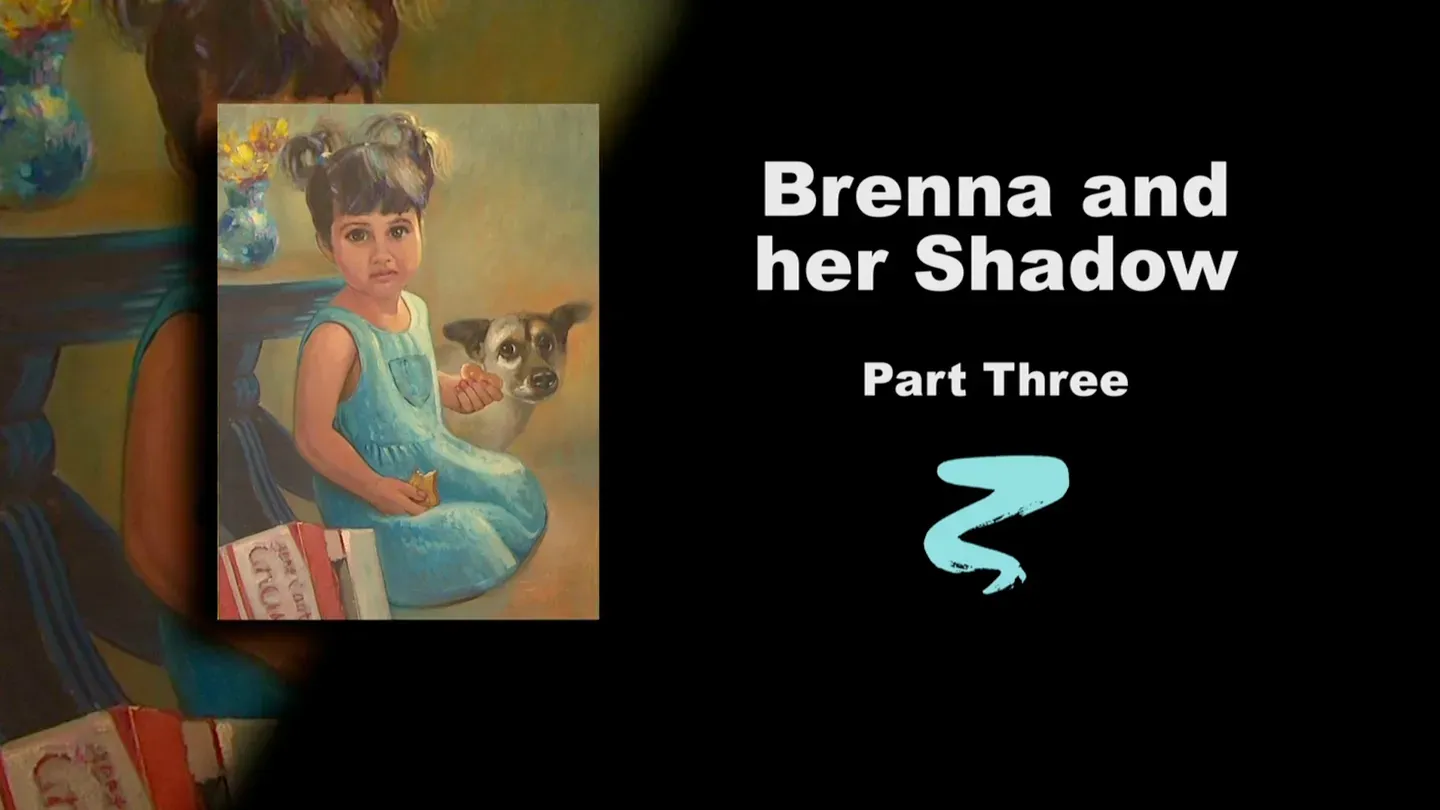
Buck paints stage three of Brenna and Her Shadow.
In the final stage of Brenna and Her Shadow, Buck adds details to the dog and background, and the finishing touches to little Brenna.
Problems with Closed Captions? Closed Captioning Feedback
Problems with Closed Captions? Closed Captioning Feedback
Painting with Paulson is a local public television program presented by Prairie Public
Painting with Paulson
Brenna and Her Shadow Part III
3/1/2025 | 26m 46sVideo has Closed Captions
In the final stage of Brenna and Her Shadow, Buck adds details to the dog and background, and the finishing touches to little Brenna.
Problems with Closed Captions? Closed Captioning Feedback
How to Watch Painting with Paulson
Painting with Paulson is available to stream on pbs.org and the free PBS App, available on iPhone, Apple TV, Android TV, Android smartphones, Amazon Fire TV, Amazon Fire Tablet, Roku, Samsung Smart TV, and Vizio.
Providing Support for PBS.org
Learn Moreabout PBS online sponsorshipA new brush sitting in a paint box may remain clean and pure, but that's not what brushes are made for!
[piano plays in bright rhythm & tone] ♪ ♪ ♪ ♪ This was once in a paint box, clean and pure, but boy has it been a faithful friend: my bunny brush.
I'll dip into the walnut oil.
And I'll come up and put this on.
And, oh, by the way, hello!
We're doing part 3 of "Brenna and her Shadow."
First part: all acrylics.
Second part: oils.
Third part: refinement with oils.
I'll wipe this around a little bit.
I don't really want to do much other than say when I put the oil on, when you've worked on a painting progressively, there may be spots you work on and some spots you don't.
If you've used medium each time, the spots were you haven't worked on will look very fresh.
And the one you had worked on, they kind of dry dull.
That's why it's good to varnish out a painting, oil out a painting before you go further, then you can relate everything with its pure freshness.
Let's go ahead down by the doggy-doggy dog and I will take a small flat brush, and I'm going to use, this is Van Dyke brown and white with a little orange.
I'm pushing this around next to the head for the simple reason that when I put on the color, for instance, near the ears, I'll want the dark to have something to blend into so it won't be quite as sharp.
It'll be a little softer.
That ear, as you see in the original, which is right next to me, is very soft.
It features the ear that is closest to Brenna.
A little bit over here.
Just a little accent, which is very attractive.
Often when you want, whether it's a tree coming forward, or if you want, in a still life, an object being in front of another one, in this case the ear away from the background, you lighten it right next to the closer object, and you feel like you can reach behind it.
Alright, this gives me a chance to go ahead with the Burnt Umber.
I'm taking, I just clean that brush, dip it into oil, then wipe it off.
Nontoxic-- such a blessing.
Alright, this is Bunt Umber.
When I use this, it'll be very dark.
I'll kind of work with it.
You have that Alizarin Crimson underneath which truly has established the values for the little doggie's darks.
So I don't worry about anything showing through.
Come over on this side.
I won't soften, like I was suggesting that I will do, the dark into the background yet.
We'll make sure that we get all the use we want out of umber before we do any of that.
Come down near the eye.
It's so helpful when you put it in with a monochrome, be it oil or acrylics, that it's dry and you can make use of that showing through.
Because there truly is that feeling of flesh and blood and so on in a living, I was going to say a human being or organism, animal.
"That is beautiful."
Thank you.
It's tough to be the host of the show and the audience at the same time!
That's why like being in the army and being a general and the foot solider at the same time!
I guess it would be wrong if I brought in an audience, then I'd be talking to them instead of you.
You're my audience!
That's great, thank you for being there!
Don't stand up, don't applaud.
Just enjoy and if you-- try to guide me a little bit and say, oh Buck, I wish you'd do this.
I can kind of feel through the camera what I should do.
I'm using the same brush, the flat sable brush.
When I come to a smaller area, see, I just turn the brush a little bit.
Use the corner of it for drawing.
Let's come under the eye.
A little bit in there then down, what do you call it on a dog?
I guess you say a "nose."
On a horse you're talking muzzle and all that.
I don't think you do that on a doggie, do you?
I don't know, I don't see any cameras shaking there heads yes or no, so we just go on.
Again, before I do any blending let's come with the next color.
And I have, let's see, you are Van Dyke Brown and white.
Let's see what happens with you.
I'll take and push it over here, so I don't have too much quantity on the brush.
Yeah, that's a nice gray.
And I don't, yes, with hi-definition I certainly can.
You can see there's a little difference between what was there, the gray in acrylics and now the gray with oil.
Which further leads us to say don't worry about covering all of it.
Oh, you need to be darker.
Ok, let's put a little bit over in here and under the hand, I'll dip, redip, using some of the same.
You know, we spoke about where you put that light against the ear and then the ear comes forward.
Well, then you have that same aspect down here on the body.
The strong light against that hand lets the hand set out in space, and then your doing the body behind it.
In this area, I'll go ahead and blend a little bit.
See, I'm pushing into the dark under the throat, on the throat.
You're having a little bit of red show through, but just watch that, how much we want to use.
I'm going to take the same color, which is gray, not much paint on the brush, and just touch against here.
See how that softens against there?
Oh, that's beautiful.
Let's stay in this area.
I think on this area we'd better come with a little bit more of the umber.
This is Burnt Umber.
I didn't clean the brush, just using what I have there, because I don't mind if it is a little lighter than pure Burnt Umber.
Boy, shadow, you have your own show, "The Shadow Show!"
"The Shadow Show."
Because you are important, you're important to me, you're important to Brenna.
Pushing this again, next, and into the umber.
The places we don't do it are near the eye.
See how sharp that stays?
Although, I will come with more sharpness with a little bit of Van Dyke Brown in just a minute.
This stays sort of sharp, but I'll just touch in with practically no paint on the brush.
It has a little gray still left on it and we're touching in on the ear to make that a little less sharp.
Those are subtleties that you might ignore when you are first putting them on.
You think, well, that is a dark ear.
But there's character within.
You know, if you ever, when you hold a ear of a dog and kind of wiggle it, you know how flexible it is.
Let's go over to the other ear.
Now the other ear, where I'm wiping the brush which had gray on it, I didn't clean it, but now I'm taking some of the orange background color, and just softening against it.
It stays a little sharper right near the head.
I just wanted to get that line right there.
Ok, I think that'll work.
Now, let's go ahead with some Van Dyke Brown.
This is a round brush.
This is a round brush?
Yes, you're a round brush.
Van Dyke Brown.
And this will go as the large pupil.
And right above it, just a line right there.
Just a little nice accent.
I'll work a little further with this too, by bringing this dark down just a little lower.
So we don't really see the white of the eye, even though it's not pure white, except over on the side.
Ok, a little just to accent right under there.
Then I'll pick up the same color, this is Van Dyke Brown, and a little stronger here.
Of course, the nearest to the person eye is the one we feature.
And you'll find that it'll be featured as we put a little highlight in it.
Kind of a strong little line there.
Even though we haven't put highlight in it yet, see that nice feeling that we have?
And we'll come down to the nostrils and we fill this in with the Van Dyke Brown.
Kind of large.
It's not exactly round, not a circle exactly.
It's kind of rounded that way and kind of sharp on that end and then over on this one.
And again, with the way the head is turned we see more of an opening on the left side.
It's just like the eye is more important there and then we have a little bit on this side.
A little bit just showing the mouth.
This is a little line here.
Just a little bit, little bit, little bit under there.
Oo, you were just reminding me of what I need to do.
I sure do.
Let's come down with a little blue and white.
This is Turquoise Blue and white.
Just a little touch in the corner of the ear-- you're not ear-- nose.
And while I have this on the brush, I would like to do that but I won't do it with that color.
Let's go ahead with taking a little bit of flesh color, this Alizarin Crimson, Yellow Ochre, white, a touch of Van Dyke Brown.
This will give us just a little highlight, but it's kind of surprising.
It's a little bit on the pink family.
This side, we do it, and after we do this, I'll go even a little stronger in that eye.
But while I have the pink on the brush, let's make just a small touch here.
You won't see much change, just a little teeny highlight there.
A little more pink.
A little more pink, not much.
A little bit there and a little bit down here, but watch on that eye.
We again go with, similar to what we did on Brenna.
I'm just touching that so it's not too much texture.
That brush has been used before!
This is putting on the dot in the eye.
Very similar to Brenna.
We pick up, we get a little light.
And this is going at 10 o'clock.
There's 9 straight across, 10 o'clock right there.
I'll take a little Van Dyke Brown, because, again, I want it to be just a little less of a tail on the end there.
Ok, once I've done that I realize I can even strengthen, and this is yellow and white, strengthen just a little bit on this side.
Ok, now we have, this is, let's see, what are you?
You are a very special color.
This is Transparent Red Iron Oxide.
Watch what happens around the nose.
I'm going to go just a little darker, which means less white in it.
That is such a great color.
I recently discovered it because it's stronger than Burnt Sienna.
There's some there, there's some around here, there's some there, there's some on the bottom lip, and there's just a little bit above the eyebrow.
Ok, before we leave him too far, we need just a couple extra lights.
And we'll take and put on, this is Van Dyke Brown and white with just a little orange.
Let's put this on right there, and a little bit near that eye, and a little, I think we'll come down with a different color.
We'll come down with Yellow Ochre and white, and I jumped across, grabbed the white, where's the Yellow Ochre?
A little Yellow Ochre there.
This is going to go right down here and we put just a touch there and a touch there, and right above this eye.
When I put this on above the eye you can really see how it helps strengthen that eye area, doesn't it?
Ok, well that's done very quickly and shows just a little semblance on how to do it.
I'm going to push the light up a little bit here, so the eye doesn't droop quite as much.
Because he's very alert.
He really knows what he wants, and he goes after it.
Ok, we'll leave that a little bit.
We'll come over, let's look at her face and I want to have just a little bit.
This is orange and white, touch of Yellow Ochre in it.
Not much difference between what's there and what we have.
Just a little.
This is a nice soft brush.
Places of impact.
Right above here eye, similar to what we did on Shadow, where we emphasized his eye by going above it, we've done the same with Brenna.
Then I'll just spread these out a little bit.
If that brush seems a little too powerful or large, let's take the badger, this filbert.
Just a little, just watch that too.
I guess you're watching it all, aren't you?
I'm picking up a little paint.
Just a little accent in there.
But that's the important eye; that's where you see life.
We'll come down a little bit with that orange and white.
I'm jumping up, picking up a little white, coming over with the orange and white, we'll come down now for a little accent near the neck, and we'll carry this over on her shoulder.
Often, when you put on the right color, which means the right value of the right color, and you put it in the right shape, then you hardly have to change it.
It looks good, feels good.
Just because it's the right color in the right place in the right shape.
Maybe a little bit on there.
A little bit on this one and just a touch.
We'll take a small brush and put just a touch of that orangish color on the little cookie.
Get the edge of the cookie.
Alright, let's put just a little bit in the hair.
I have a fan brush.
I'll take first, this is yellow and white, I need to come over here, pick up just a little bit of that Yellow Ochre and orange.
So the yellow and white is actually lighting it a little bit more.
Just a couple little soft strokes, little accents.
Again, the light's coming from the right.
A little bit inside.
While we're there I can look over at the flowers and I think, oh geeh, let's just put a little palette knife on them.
Here's the palette knife.
I'm using Yellow Ochre and Cad Yellow, about equal parts.
Let's just see what that does.
I'll put this on the knife.
Let me show you on the knife like that.
Ok, then we'll come up here, a couple of broad strokes.
It's so spontaneous!
I love what that knife will do.
I just love the sound of it.
Now coming down on the vase a little bit.
We'll take a, I have a small brush.
I will take violet, Quinacridone violet and white.
And watch what this does to what's already there.
It just enhances the blue slightly.
Coming near them.
You can put so many things all the way around-- and this will be a little reflected light-- as long as you don't disturb the direction that the light is coming from.
So we'll go a little stronger with the light on the vase.
This is yellow and white.
Where have we used this?
We used a little bit on the hair, a little bit on the doggie.
I want just a touch more white in it, than those places.
You don't really see the top edge of the vase, it's covered with the flower, but we have a little reflected light.
I think just on last thing up on the flowers.
Let's take some, this is Quinacridone Violet, straight, and we'll put just a little bit of sparkle around here.
When I say sparkle, it's adding darks.
So darks can also be a sparkle, but they're really accents.
I like that little looseness there.
It kind of comes over, it's a bridge to her.
On the table, we don't need to do much, maybe a little Manganese blue.
Let's see if I can do it without any white.
Just slightly there.
Just a touch of white.
Just a touch of white.
And this, similar to what we talked about earlier, it separates the gal from the table.
It's kind of a little bit of a release.
I just blend those a little bit.
Ok, back to the Manganese Blue without the white.
Just a little bit there, a little bit there, a little bit down here, a little bit there, a little bit there, just on that edge.
I'll take a paper towel, which can be used to soften these a little bit.
Now we kind of look around a see what yet needs to be done.
I would find that if I blend a little bit, let's take and blend first, the light away from the doggie's ear.
Then just ever so gently, ever so gently, I'll take and blend across there.
I don't really want to do much blending there, but I'm tapping it just a little bit.
So I did blend slightly there.
Blending a little bit on the highlights on the dress.
You can blend different directions.
I'm blending diagonally, which hopefully makes it stay right where it is, wiping the brush, I'll blend a little bit on the flesh color.
Oh, don't touch the flowers, Buck!
Blending a little bit there.
I see one accent that we've got to have up in the hair.
This is yellow and white.
I guess I don't know what that is, a barrette or something that kind of holds that.
But just a little accent there.
And maybe just a little, this is the Quinacridone Violet and white.
Just a slight feeling here and there in the hair.
Oh, Brenna, you're such a beautiful little girl!
Just a little touch of red.
You're quite young, sweetie, but we'll put just a little bit of red on the lips there.
Then I'll take some Burnt Umber.
Careful with this, Buck!
We want to have a little nostril, but not too strong.
What happened there, when I say "there," I'm talking about at the nostril, I want to make sure it doesn't have too much of a hardness.
One little touch, orange and white, Yellow Ochre and white, just a little lighter here.
And then there's that little Cupid's bow, just a little touch there.
Do we need to have a little accent there?
Do we need a little accent here?
This is a nice accent, so you're eyes focus in on her eyes.
A little lighter there.
Boy, I'll tell you, I'm so pleased.
I think we've done it.
And you realize, under the time frame, we're rushing on a lot of things and you think, oh geeh, why did he do this or why didn't he do that?
I hope that you have found that this one way you can do a portrait and I hope that the close-ups and all that have helped you and you'll be able to have much success.
Get those clean brushes out of the box, and go ahead and paint your masterpieces.
Thank you for watching; thank you for being there.
I really, I love you!
Bye-bye.
♪ ♪ ♪ ♪ ♪ ♪ ♪ ♪ ♪ ♪ ♪ ♪ ♪ ♪ ♪ ♪ (woman) Funding for "Painting With Paulson" is made possible by...


Support for PBS provided by:
Painting with Paulson is a local public television program presented by Prairie Public